Countertop Arcade
Completed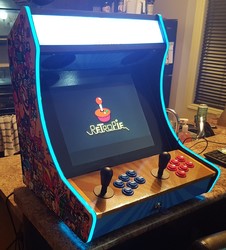
Inspired by a young admiration of video games and as an introdution to woodworking, this unique cabinet is based off the WeeCade set of plans and runs thousands of games on a Raspberry Pi.
Features
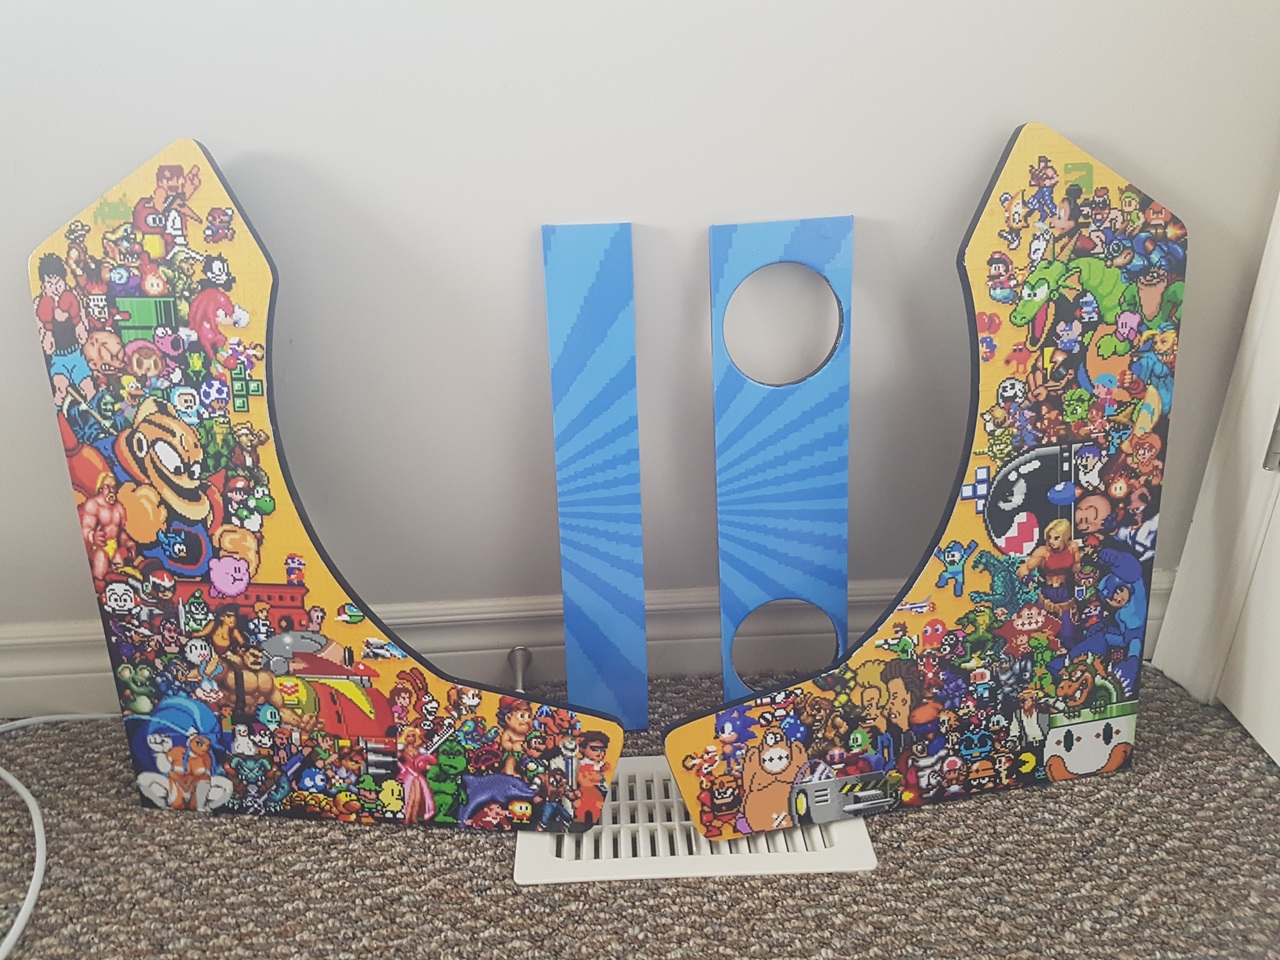
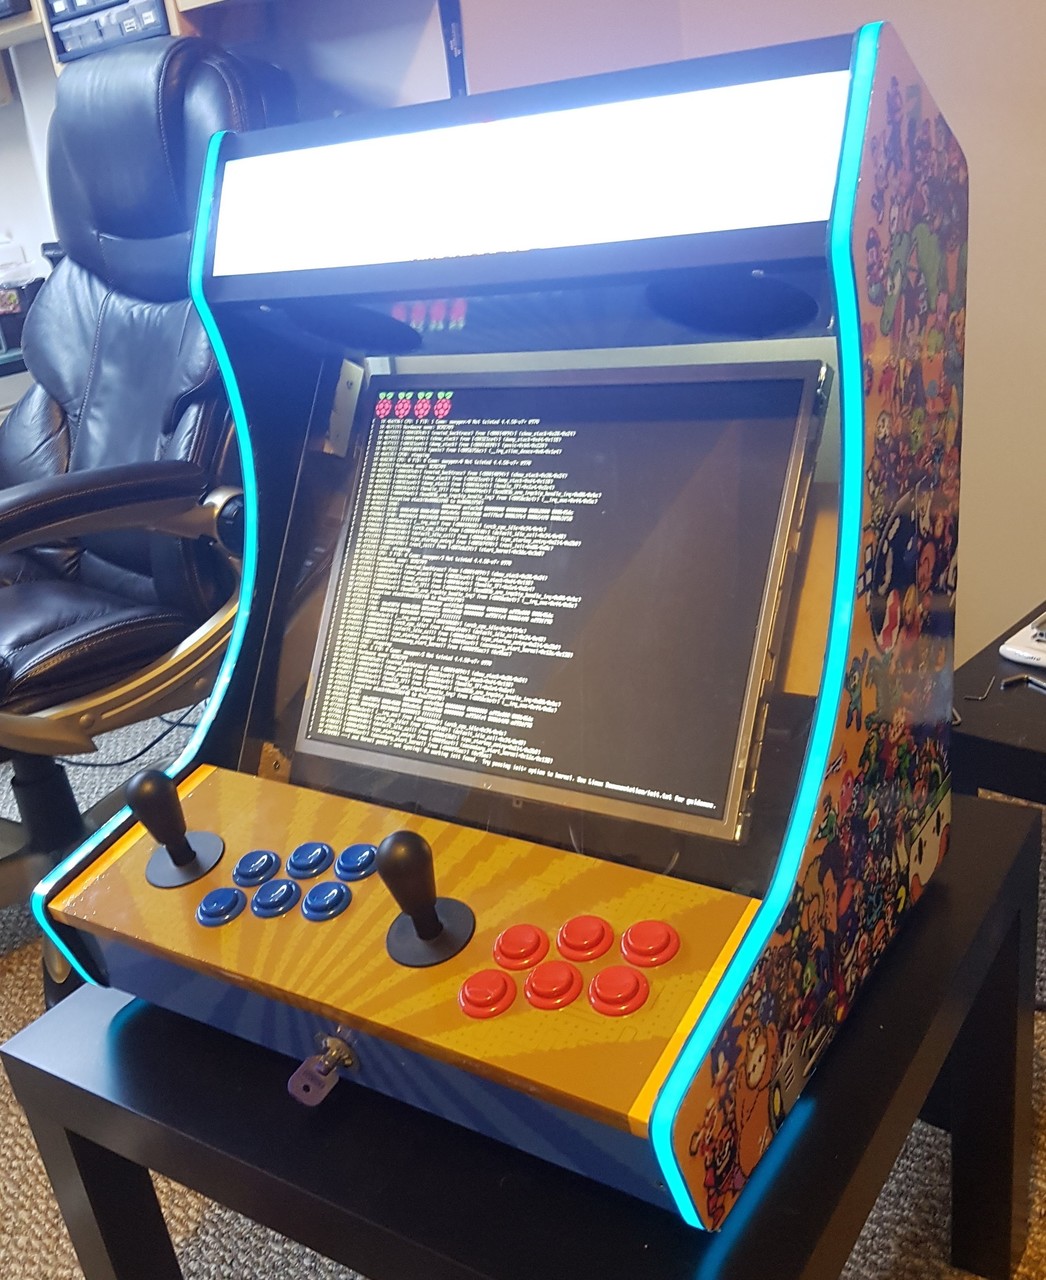
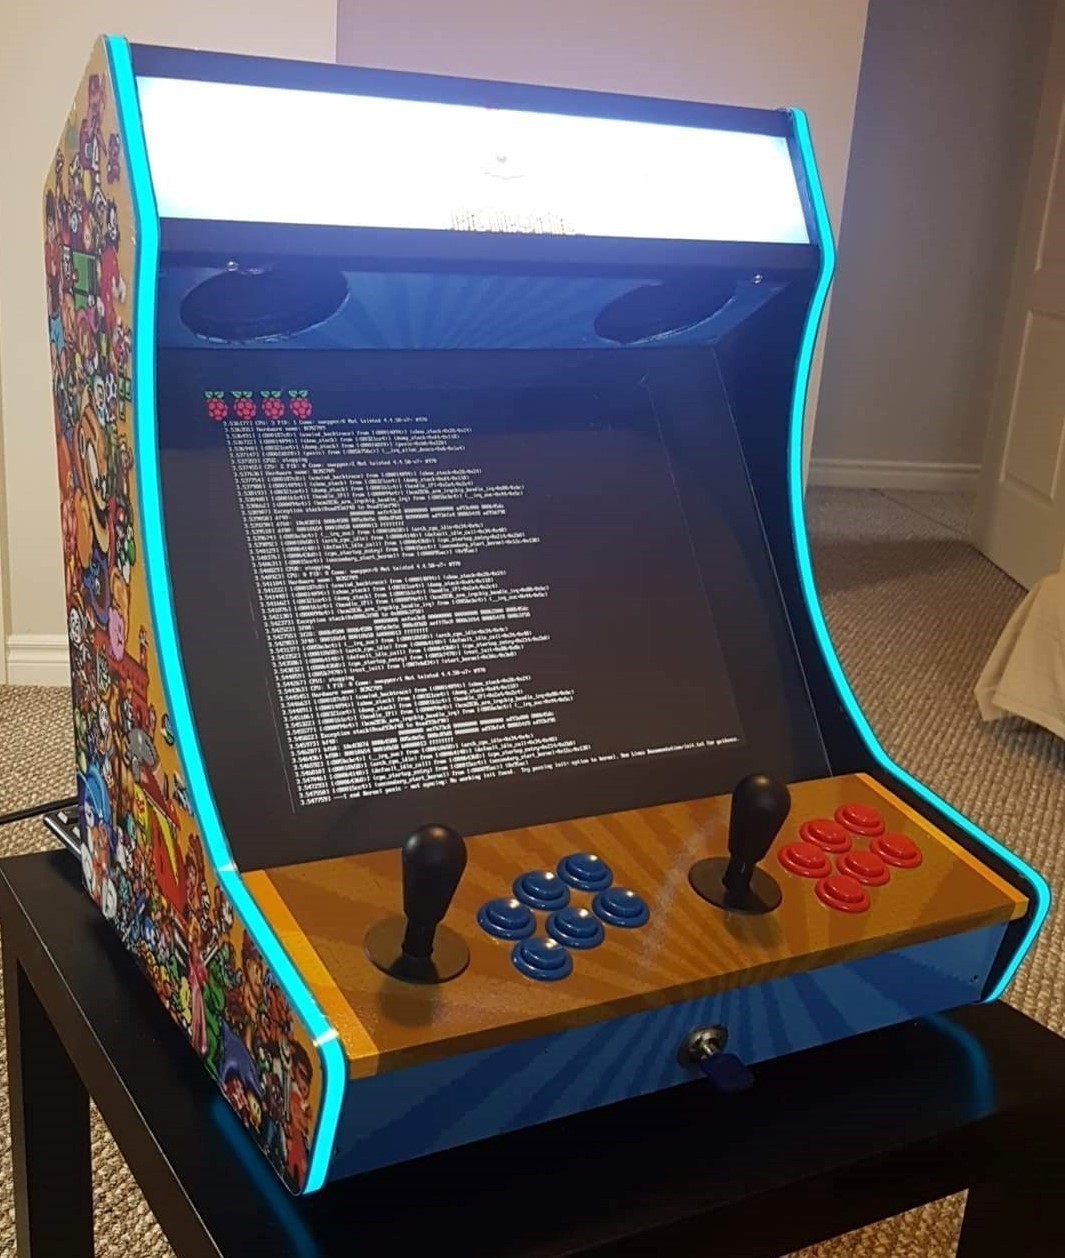
- Gorgeous vinyl side art
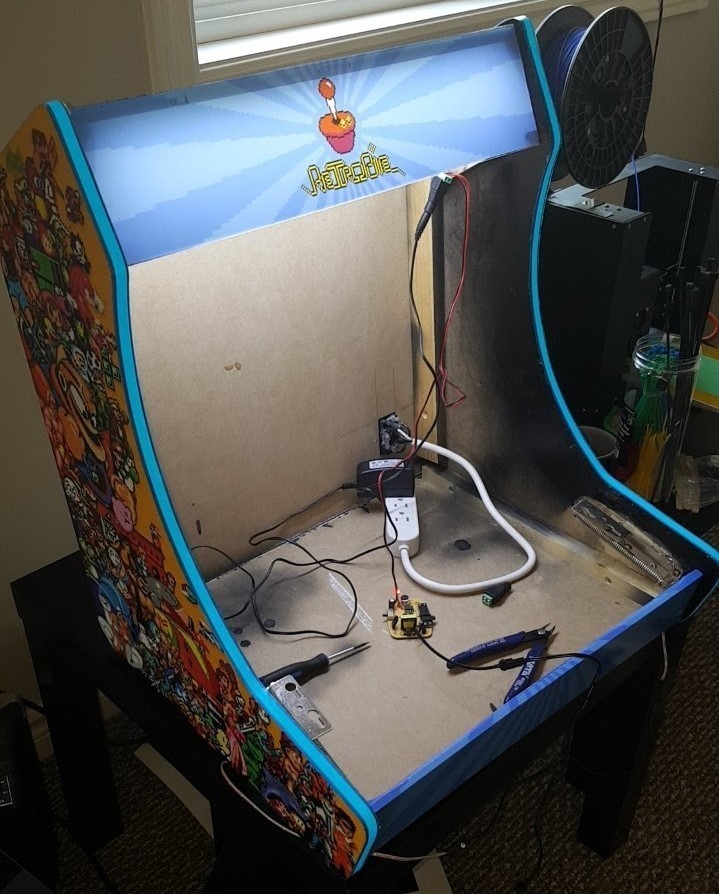
- Glowing side moulding
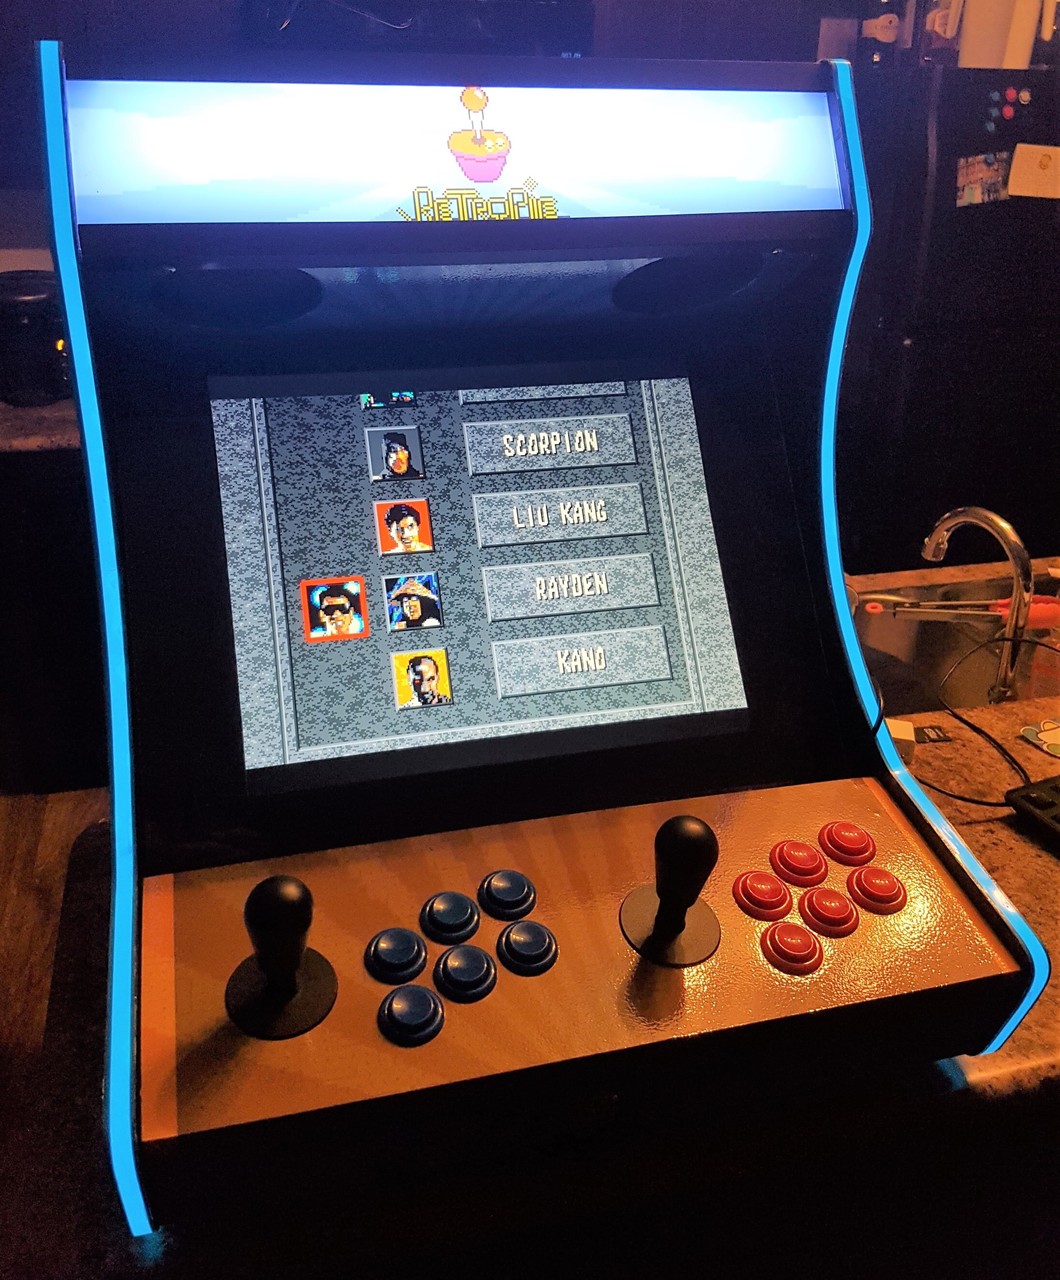
- Thousands of games on RetroPie
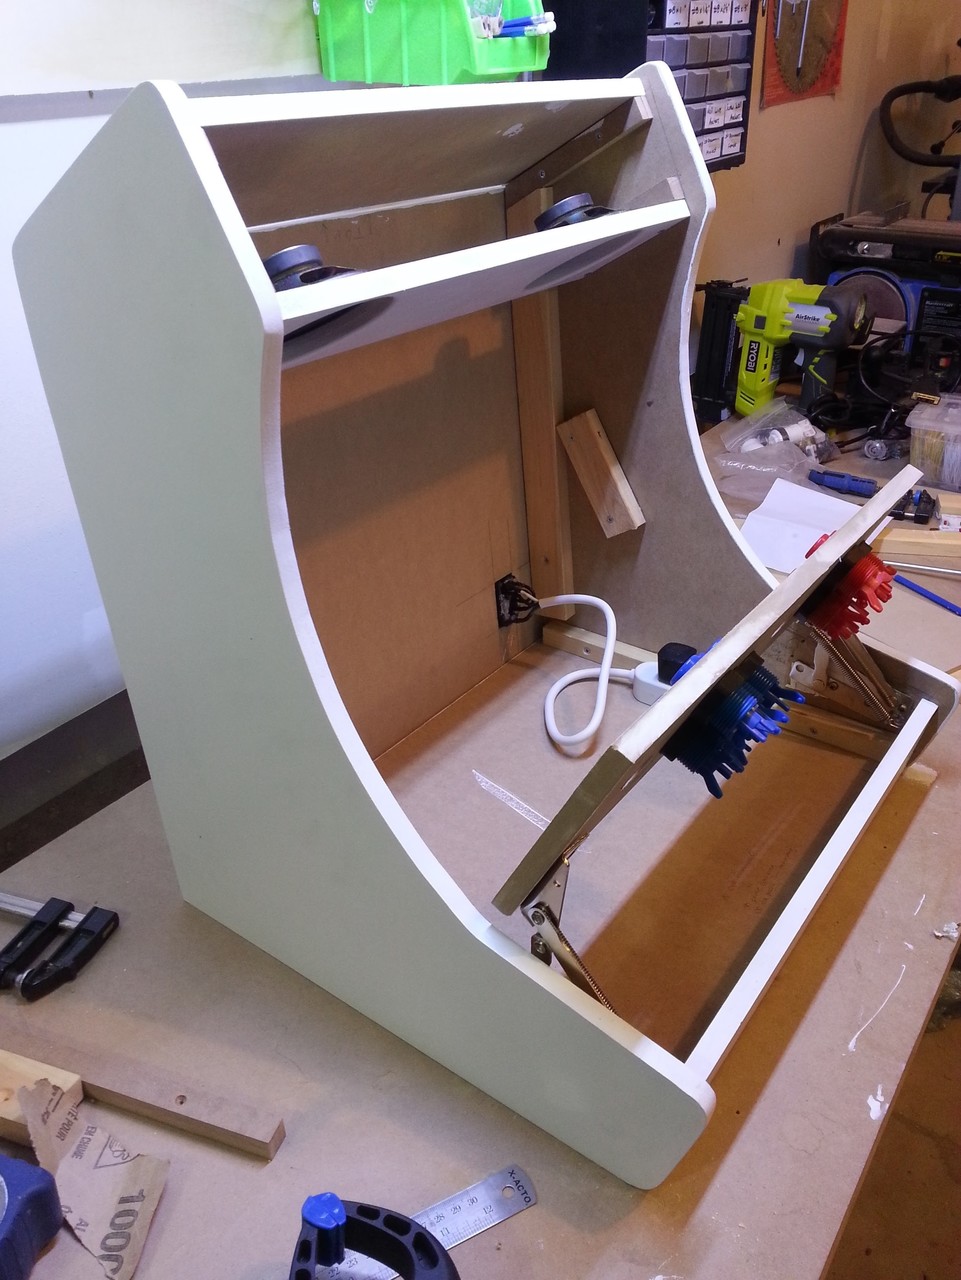
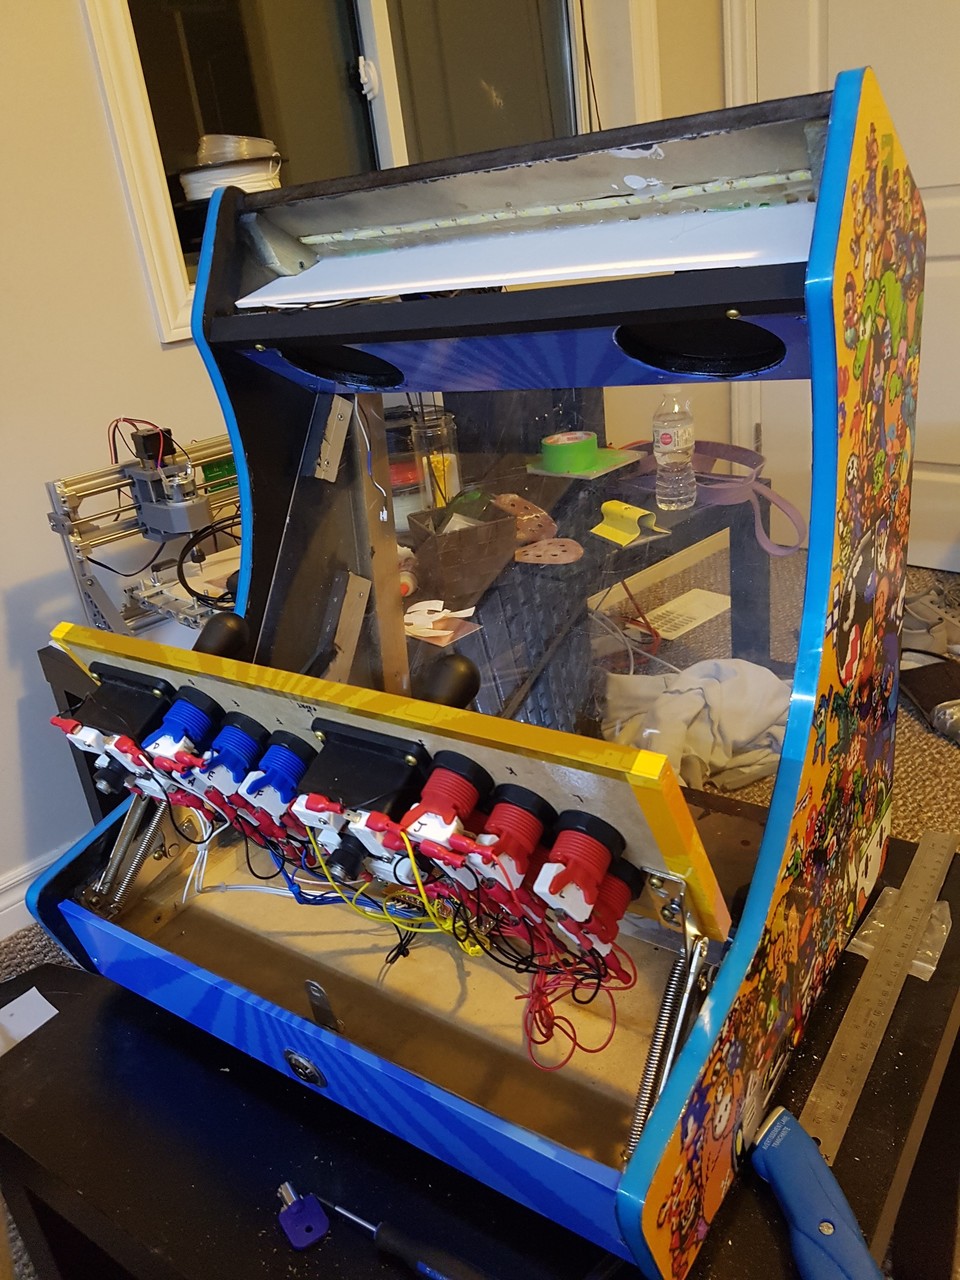
- Hinged control panel for service access
Introduction
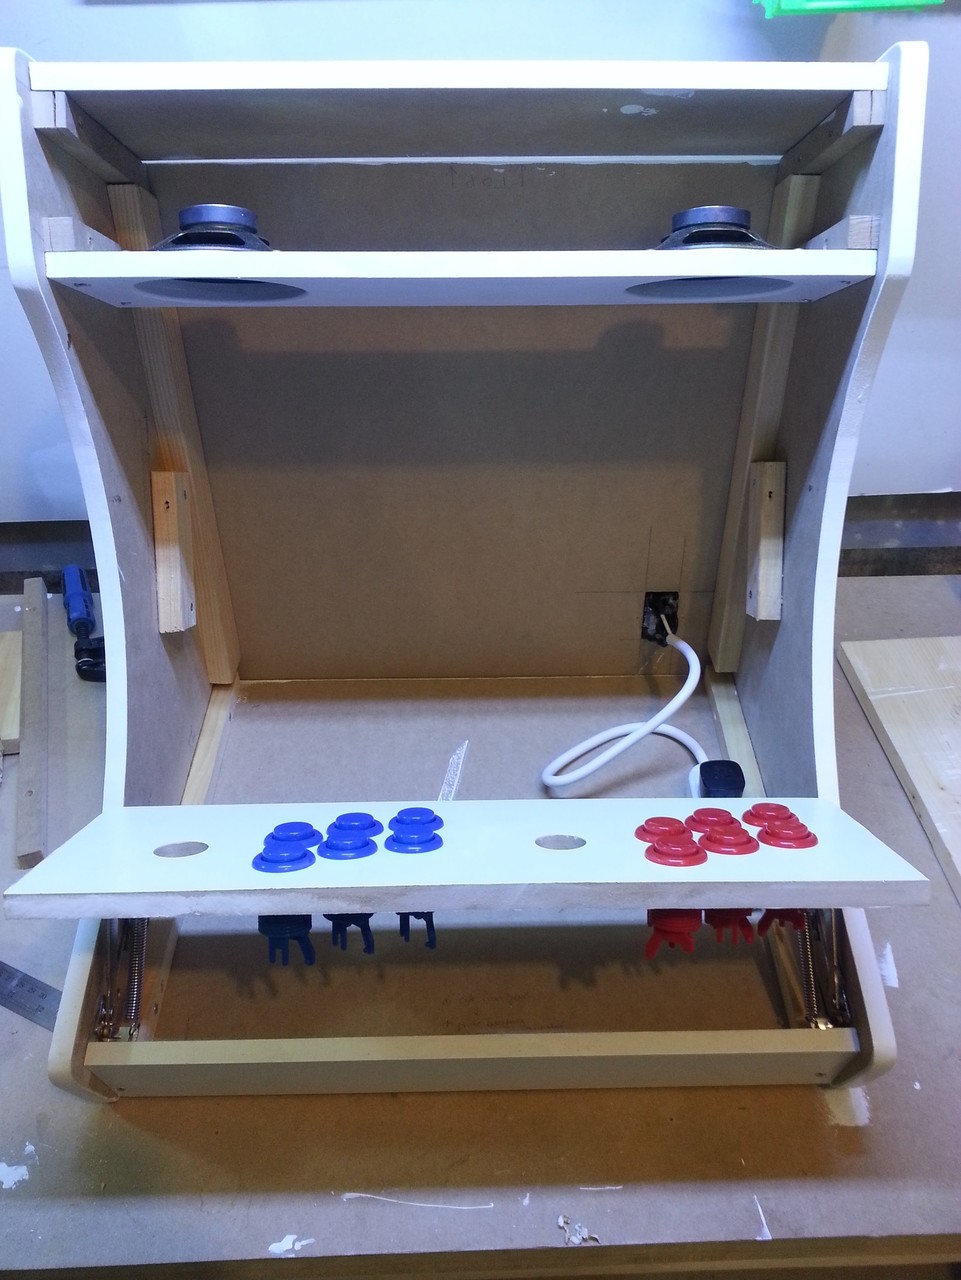
I first dreamed of building an arcade cabinet from a young age, spending many hours researching on the BYOAC forums. My first order for joysticks and buttons was submitted in early 2006. After many years of no progress, in late 2017 all the pieces came together thanks to the WeeCade plans (and a friend who graciously printed my Vinyl for free). While some of the parts were sold over the years, the buttons in this arcade are still from the original 2006 order. The plans were followed fairly accurately with a few small modifications: some dimensions were modified to fit the screen; the T-moulding was replaced with glowing EL tape; and the control panel was placed on lifting hinges, held down by lock and key.
Electronics
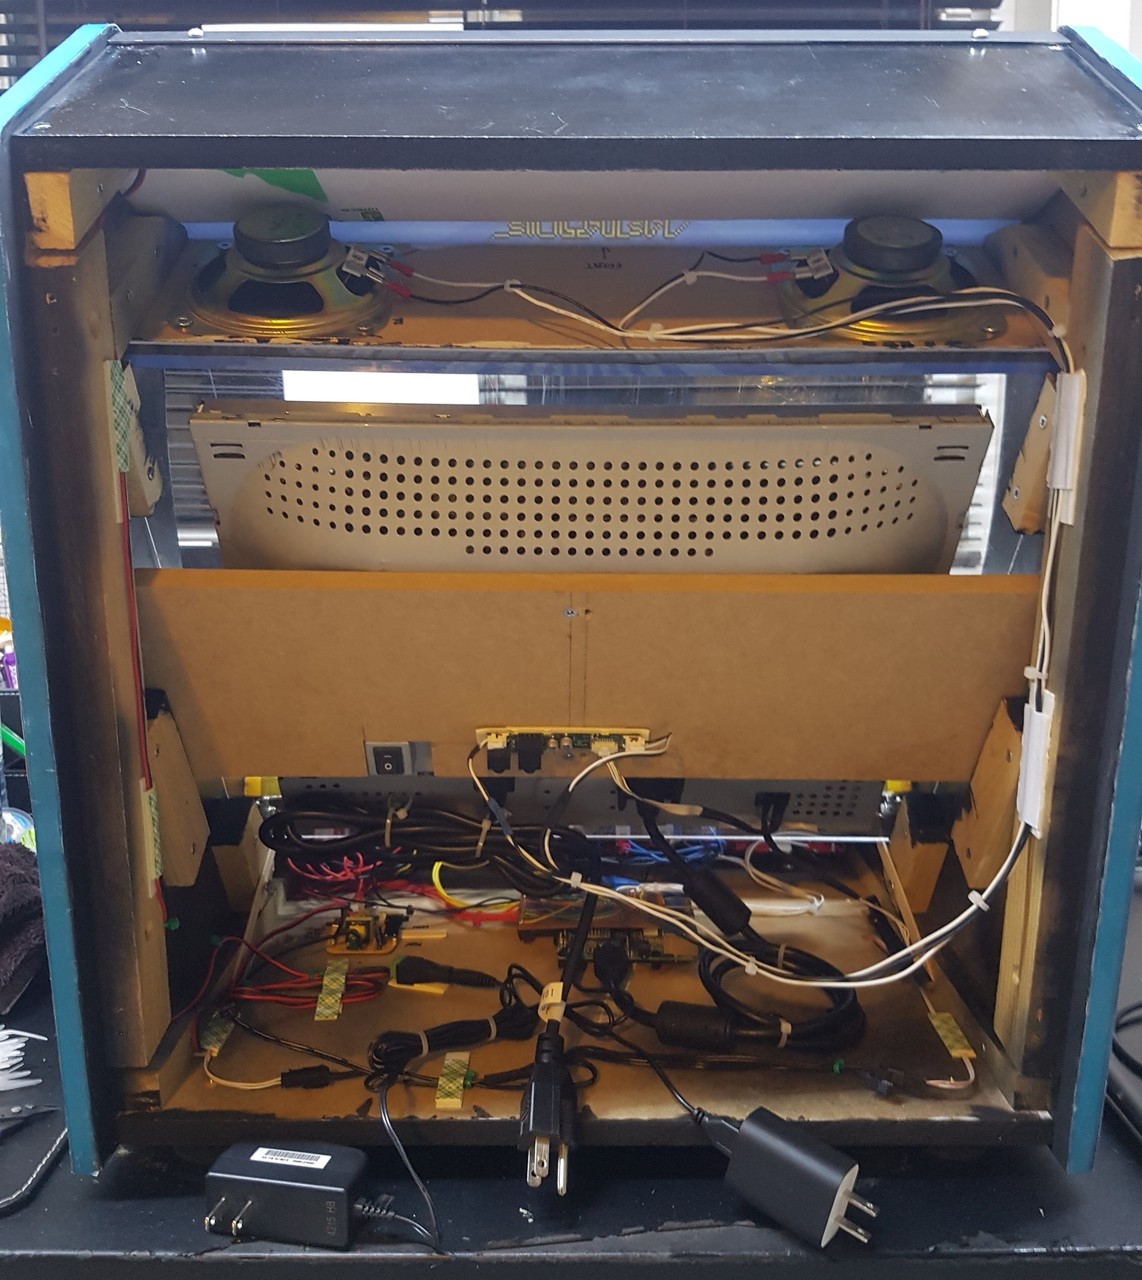
Thanks to the release of the Raspberry Pi, all the complexity in this type of project existed in the software and construction. There are many tutorials and blog posts of people who have built similar arcade units. One notable difference is that very few builds bother to use the inputs and output pins of the actual Raspberry Pi, instead opting to use a USB-based controller. In this case, a small breakout board was created to help breakout pins from the Pi into screw terminals. Overall, the following components were used in this build:
- Raspberry Pi model 3 B+
- Custom wiring breakout board
- High performance SD card (See comparison)
- High-quality 5v power supply for Raspberry Pi
- 12v power supply for LEDs and EL wire
- EL wire driver
Software
Since building a Raspberry Pi arcade has become incredibly hobbyist-friendly, there are a couple software frontends with tons of community support. The one used in this project is called RetroPie. RetroPie comes as a ready-to-use SD card image. Since the joystick and button inputs are wired directly to the Raspberry Pi, some software is necessary to map the inputs to a virtual keyboard or gamepad. For this project, a piece of software called GPIOnext was chosen because it allows a “shift-key” feature where pressing a combination of buttons can be registed as a new button. For a control panel without dedicated 1P/2P start buttons, the shift-key feature is an absolute necessity. Adafruit’s RetroGame is another great software package, but it is unfortunately limited to only one shift-key combination.